Contents
This post may contain affiliate links. I may receive commissions for purchases made through these links with no extra cost to you. See full disclosure.
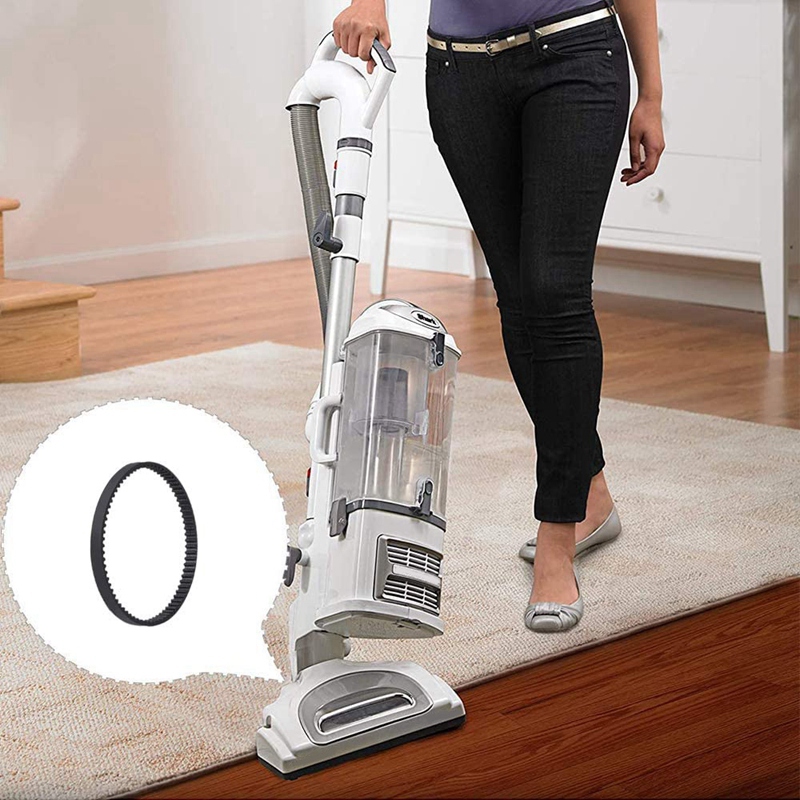
In this article, you will learn how to change the belt on your Shark Navigator vacuum. We will provide you with step-by-step instructions to make the process easy and hassle-free. Additionally, we will discuss the importance of regular belt maintenance and how it can improve the performance of your vacuum.
So whether you are a beginner or an experienced user, this article will guide you through the process and help you keep your Shark Navigator running smoothly.
The Shark Navigator vacuum is a popular choice for many homeowners due to its powerful suction and reliable performance. However, like any other vacuum cleaner, it requires regular maintenance to ensure optimal performance and longevity.
One crucial maintenance task is changing the belt. In this article, we will guide you through the step-by-step process of changing the belt on your Shark Navigator vacuum.
Preparing to Change the Belt
Before you begin the process of changing the belt on your Shark Navigator vacuum, gather the necessary tools and materials. You will need a replacement belt specifically designed for your Shark Navigator model. You can find the appropriate replacement belt at a local vacuum store or online.
Once you have the replacement belt, turn off and unplug the vacuum to ensure your safety during the belt replacement process. It is important to disconnect the vacuum from the power source to prevent any accidents or injuries.
Next, remove the dust cup and filter from the vacuum. The dust cup is usually located at the front or top of the vacuum, and it can be easily removed by pressing the release button. Take out the filter and set it aside for cleaning later.
Lastly, locate the belt access door on your Shark Navigator vacuum. The belt access door is typically situated on the bottom or side of the vacuum, and it allows you to easily access the belt for replacement.
Removing the Old Belt
To remove the old belt, open the belt access door by unlocking or unfastening it. This will expose the belt and brushroll assembly. Take a moment to identify the belt and brushroll before proceeding.
To release the tension on the belt, look for the belt tension release mechanism. This may vary depending on the Shark Navigator model, but it is usually a lever or switch that you can move to loosen the belt tension.
Once the belt tension is released, you can remove the brushroll by pulling it out from the vacuum. Be careful not to lose any small parts or accessories attached to the brushroll.
After removing the brushroll, slide off the old belt from both the brushroll and the motor shaft. Discard the old belt responsibly.
Installing the New Belt
Choosing the correct replacement belt is crucial to ensure compatibility and optimal performance. Refer to the user manual or consult the manufacturer’s website for the specific model number and recommended replacement belt for your Shark Navigator vacuum.
To install the new belt, slide it onto the brushroll, aligning the belt with the belt grooves. Make sure the belt fits securely and snugly around the brushroll.
Reinstall the brushroll back into the vacuum by sliding it back in its designated position. Ensure that the brushroll is properly aligned and seated in the vacuum.
Check the belt tension to ensure it is not too loose or too tight. The belt should have a slight tension, allowing it to rotate the brushroll efficiently. Adjust the belt tension if necessary, following the instructions provided in the user manual.
Closing the Belt Access Door
After installing the new belt and adjusting the belt tension, it is time to close the belt access door. Align the door properly with the vacuum body and ensure that it locks or latches securely in place.
A properly closed belt access door is essential for the vacuum’s safety and efficient operation. Ensure that the door is tightly closed to prevent any debris from entering the belt compartment.

Replacing the Dust Cup and Filter
Now that the belt replacement is complete, it is essential to clean the dust cup and filter before reinstalling them.
First, clean the dust cup by emptying it into a trash bag or bin. Remove any debris or dirt trapped inside the dust cup to ensure optimal suction power.
Next, clean the filter according to the manufacturer’s instructions. Typically, you can rinse the filter with water and allow it to dry completely before reinstalling. Make sure the filter is completely dry before putting it back into the vacuum.
Attach the dust cup back into the vacuum, making sure it locks securely. Ensure that the dust cup is fully seated to maintain proper suction power.
Testing the Vacuum
With the new belt installed and the dust cup and filter reattached, plug in and turn on the Shark Navigator vacuum for a quick test.
Inspect the brushroll’s rotation to ensure it is spinning freely and without any obstructions. A properly installed belt should enable smooth brushroll rotation.
Listen for any unusual noises during the operation of the vacuum. If you hear any grinding, rattling, or squeaking sounds, double-check the belt and brushroll installation.
Check the suction power of the vacuum by running it over different surfaces. The vacuum should pick up dirt and debris effectively, indicating that the belt replacement was successful.

Maintaining the Vacuum Belt
Regular maintenance of the vacuum belt is essential to ensure optimal performance and prolong the lifespan of your Shark Navigator vacuum.
Regularly check the belt for signs of wear, such as fraying or stretching. If the belt shows any signs of damage, replace it immediately to prevent any potential issues.
Additionally, clean the brushroll periodically to remove any hair, strings, or debris that may accumulate on the brush bristles. A clean brushroll will enable smooth operation and prevent the belt from getting tangled or damaged.
Troubleshooting Common Issues
Despite proper belt maintenance, you may encounter some common issues with your Shark Navigator vacuum. Here are a few troubleshooting tips:
- If the belt keeps slipping off, ensure that it is the correct size and installed properly. Adjust the belt tension if necessary.
- If the brushroll is not spinning, check for any obstructions or tangled hair. Clean the brushroll thoroughly and remove any debris that may be preventing it from rotating.
- If you notice weak suction, check the dust cup, filter, and hose for any clogs or blockages. Clear any obstructions to restore proper suction.
- If you hear any unusual noises, inspect the belt and brushroll for any signs of damage or misalignment. Adjust or replace the belt if needed.
Importance of Proper Belt Maintenance
Proper belt maintenance is crucial for the optimal performance of your Shark Navigator vacuum. By regularly inspecting and replacing the belt when necessary, you can ensure efficient cleaning, prolonged lifespan of the vacuum, and prevent potential damages or breakdowns.
A worn-out or damaged belt can lead to poor suction power, ineffective cleaning, and may cause damage to other components of the vacuum. Therefore, it is important to prioritize belt maintenance to enjoy the full benefits of your Shark Navigator vacuum.
Tips and Tricks
Here are some additional tips and tricks to make the belt replacement process easier and more convenient:
- Always refer to the user manual for specific instructions and guidelines regarding your Shark Navigator model.
- If you prefer visual guidance, search for online tutorials and videos that demonstrate the belt changing process for your specific Shark Navigator model.
- It is always a good idea to keep spare belts on hand for emergencies or to replace a worn-out belt quickly.
Conclusion
Changing the belt on your Shark Navigator vacuum is a crucial maintenance task that ensures the efficiency and longevity of your vacuum cleaner. By following the step-by-step process outlined in this article, you can easily replace the belt and keep your vacuum performing at its best.
Remember to regularly inspect and clean the belt to avoid any issues and enjoy optimal suction power. Happy vacuuming!

I enjoy long walks on the beach and traveling to new places, but mostly I love sharing practical tips to assist busy parents in maintaining tidy homes with the help of wet-dry vacuums.
- The Benefits Of Using A Wet And Dry Vacuum Cleaner For Cleaning Up After DIY Projects - October 2, 2023
- How To Use Your Wet And Dry Vacuum Cleaner For Water Damage Restoration? - October 1, 2023
- CRAFTSMAN CMXEVBE17155 Vacuum Review - September 30, 2023