Contents
This post may contain affiliate links. I may receive commissions for purchases made through these links with no extra cost to you. See full disclosure.
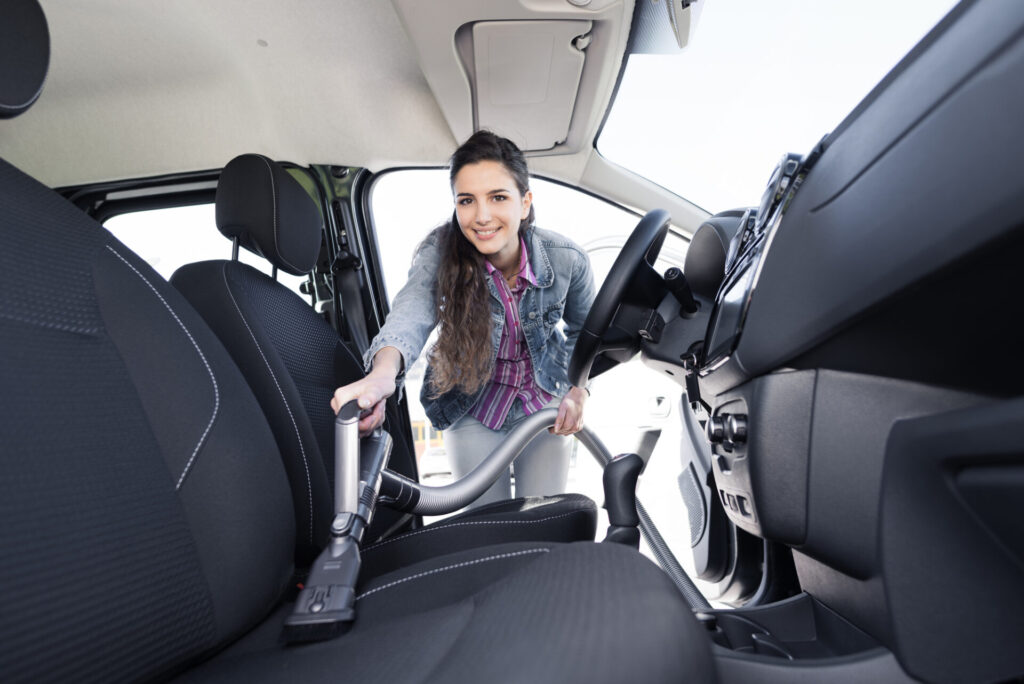
Vacuuming between car seats can sometimes be a challenge, but with the right tools and techniques, you can get the job done easily. One option is to use a wet dry vacuum cleaner, which can help you remove dirt, crumbs, and other debris from those hard-to-reach spaces. These types of vacuum cleaners are versatile and have attachments that are specifically designed for reaching and cleaning narrow areas like between car seats.
To vacuum between car seats, start by removing any large objects that may be lodged in the crevices. Then, attach the narrow nozzle attachment to your wet dry vacuum cleaner. Make sure the vacuum cleaner is set to the appropriate suction level for the task.
Slowly and gently guide the nozzle attachment between the car seats, taking care not to scratch or damage any surfaces. Move the nozzle back and forth, as well as in circular motions, to ensure you capture all the debris. Repeat the process until the area is clean and free of dirt.
By following these tips, you can effectively vacuum between your car seats and keep your vehicle looking neat and tidy.
How To Vacuum Between Car Seats
Keeping the interior of your car clean is not only important for aesthetics, but also for maintaining a healthy and comfortable environment. One of the trickiest areas to clean in a car is the tight space between the seats.
Dust, dirt, crumbs, and even stains can accumulate in this area, making it a challenge to keep it clean. However, with the right tools and techniques, you can effectively vacuum between your car seats and ensure a spotless interior. In this article, we will guide you through a comprehensive step-by-step process to successfully clean between car seats.

Preparation
Before you begin vacuuming between your car seats, it is important to make some preparations. Start by removing any loose items such as wrappers, receipts, or small objects that might hinder your cleaning process. These items can get sucked into the vacuum cleaner or become obstacles, so it’s best to clear them out beforehand.
Next, take a moment to adjust your car seats if necessary. Some car seats allow for adjustments in their positioning, which can make it easier to access the space between them. Slide the seats forward or backward to create a wider gap between them, giving you more room to maneuver your vacuum cleaner.
Lastly, choose the right vacuum cleaner for the job. Look for a vacuum cleaner with strong suction power, as this will be crucial in effectively removing dirt and debris from between the car seats. Additionally, consider using a handheld vacuum cleaner or one with a compact size to easily navigate through the tight spaces.
Cleaning Tools
Having the right cleaning tools is essential to successfully clean between car seats. Here are some tools you will need:
- Extension hose: This will allow you to reach the tight spots between the seats. An extension hose with a long reach will make it easier to access every nook and cranny.
- Crevice tool: A crevice tool is designed to clean narrow gaps and tight spaces. It is ideal for removing dirt and debris from between the car seats.
- Upholstery brush: An upholstery brush is specifically designed to loosen and lift dirt from fabric surfaces without causing damage. It is useful for cleaning the upholstery of the car seats.
- Soft-bristle brush attachment: This attachment is gentle on surfaces and can be used to remove dust and debris from delicate areas, such as the dashboard or console.
Cleaning the Surface
Before diving into the process of vacuuming between car seats, it’s important to prepare the surface for cleaning. Start by removing any visible dirt and debris from the area. You can use your hands or a small brush to sweep away loose particles. This will prevent the vacuum cleaner from getting clogged and ensure a more effective cleaning.
Once you have cleared the visible dirt, it’s time to vacuum the seat surface. Attach the extension hose to your vacuum cleaner and use the crevice tool to reach into the gaps between the car seats.
Move the crevice tool along the seat seams to suction up any dirt or crumbs that have accumulated. Ensure that you cover the entire surface area, paying extra attention to the tight spaces where dirt tends to hide.
Removing Stains
When it comes to cleaning between car seats, you may encounter stubborn stains that require special attention. Here is a step-by-step process to effectively remove stains:
- Identify the type of stain: Different stains require different treatment methods. Common types of stains include food stains, beverage spills, ink stains, or even pet accidents. Determine the type of stain you are dealing with to choose the appropriate stain removal method.
- Pre-treat the stain: Before using any stain remover, it is recommended to pre-treat the stain. You can do this by dabbing a small amount of warm water onto the stain and lightly scrubbing it with a clean cloth or sponge. This will help loosen the stain and make it easier to remove.
- Use a stain remover: Once you have pre-treated the stain, apply a suitable stain remover according to the manufacturer’s instructions. Gently work the stain remover into the fabric using a clean cloth or sponge. Allow the stain remover to sit for the recommended duration to effectively break down the stain.
- Blot the stain: After the stain remover has had time to work, use a clean cloth or paper towel to blot the stain. Avoid rubbing the stain, as this can spread it further. Blotting will help to absorb the stain and lift it from the fabric.
Repeat these steps if necessary until the stain is completely removed. Be patient and persistent, as some stains may require multiple treatments to fade away.
Cleaning the Cracks
Cleaning the cracks between car seats is often the most challenging part of the process. Here is how you can effectively clean this area:
- Use the crevice tool: Attach the crevice tool to your vacuum cleaner. This tool has a narrow, elongated shape that is perfect for accessing tight spaces. Insert the crevice tool into the cracks between the seats and move it along the entire length. The powerful suction of the vacuum cleaner will pull out any dirt or debris trapped within the cracks.
- Vacuum along the cracks: After using the crevice tool, continue to vacuum along the cracks between the seats. Move the vacuum cleaner nozzle back and forth to ensure you cover the entire area. Be thorough in your approach to remove as much dirt as possible.
Cleaning the Upholstery
To thoroughly clean the upholstery of your car seats, follow these steps:
- Attach the upholstery brush: Switch the crevice tool with the upholstery brush attachment. This attachment is specifically designed to remove dirt from fabric surfaces without causing damage.
- Brush the upholstery: Before vacuuming, gently brush the upholstery with the attachment to loosen any embedded dirt. Go over the entire surface of the car seats, including the backrests and seat cushions.
- Vacuum the upholstery: Once you have brushed the upholstery, use the vacuum cleaner with the upholstery brush attachment to remove the loosened dirt. Move the nozzle slowly across the fabric, ensuring that you cover every inch of the upholstery. Take your time and repeat the process if necessary to achieve a thorough clean.

Vacuuming the Carpeted Areas
In addition to cleaning between car seats, it is equally important to vacuum the carpeted areas of your car. Follow these steps for effective vacuuming:
- Remove the car mats: Take out the car mats and set them aside. This will ensure that you have easy access to the carpeted floor areas and that no dirt or debris gets trapped under the mats.
- Vacuum the floor area: Begin by vacuuming the floor area using the main nozzle of your vacuum cleaner. Start from one end and gradually move towards the other, ensuring that you cover the entire carpeted surface. Pay special attention to corners, footwells, and under the seats, as these areas tend to accumulate more dirt.
- Pay attention to hard-to-reach spots: Use the crevice tool or soft-bristle brush attachment to clean hard-to-reach spots, such as under the pedals or in between the seat tracks. These areas can harbor dirt and require extra attention to ensure a thorough clean.
Addressing Pet Hair
If you have pets that frequently travel in your car, you may encounter the challenge of pet hair. Here are some steps to effectively remove pet hair:
- Use a lint roller or pet hair brush: Before vacuuming, use a lint roller or a specialized pet hair brush to remove loose pet hair from the car seats’ surface. Run the roller or brush over the upholstery in sweeping motions to collect the hair.
- Vacuum the remaining hair: After using a lint roller or pet hair brush, vacuum the car seats to remove any remaining pet hair. The upholstery brush attachment will be particularly useful in this step, as it will help lift the hair from the fabric.
- Consider using a rubber glove: If there are still stubborn pet hairs that resist the vacuum cleaner, try wearing a rubber glove and dampen it slightly. Run your hand across the upholstery, using the static charge to attract the pet hair. The gloves will act as a magnet, making it easier to collect the remaining pet hair.
Reassembling and Finishing Touches
Once you have completed the cleaning process, it’s time to put everything back in order. Here’s what you need to do:
- Reinstall the car mats: Place the clean car mats back into their respective positions. Ensure that they fit securely and lay flat on the carpeted floor.
- Wipe down surfaces: Use a microfiber cloth or a suitable cleaning solution to wipe down surfaces such as the dashboard, doors, and console. This will remove any dust or fingerprints, leaving your car with a shiny, clean finish.
- Check for missed spots: Take a final look at the interior of your car to make sure you haven’t missed any spots. Pay attention to the nooks and crannies, as well as hard-to-reach areas, to ensure a thorough clean.
- Empty and clean the vacuum: After you have finished cleaning, don’t forget to empty and clean your vacuum cleaner. Dispose of the collected dirt and debris in a sealed bag and clean the attachments and filters according to the manufacturer’s instructions. This will prevent any unpleasant odors or debris buildup in your vacuum.
Regular Maintenance
To maintain a clean and hygienic car interior, it is essential to establish a regular cleaning routine. Here are some tips for regular maintenance:
- Create a cleaning routine: Set a schedule for cleaning your car’s interior, including vacuuming between car seats. Depending on your usage and personal preferences, you can establish a weekly, biweekly, or monthly cleaning routine.
- Keep the car clutter-free: Avoid accumulating clutter in your car as this can make cleaning more difficult. Regularly remove any unnecessary items and designate storage spaces for essential belongings.
- Wipe spills immediately: Accidental spills happen, but it’s important to address them promptly. If any liquids or food spills onto the car seats or carpet, clean it immediately to prevent stains and odors from setting in.
By following these tips and incorporating them into your car maintenance routine, you can ensure that your car’s interior remains clean and inviting. Regular vacuuming between car seats, along with proper stain removal techniques, will help you maintain a spotless and fresh-smelling interior for a comfortable and enjoyable ride every time.

I enjoy long walks on the beach and traveling to new places, but mostly I love sharing practical tips to assist busy parents in maintaining tidy homes with the help of wet-dry vacuums.
- The Benefits Of Using A Wet And Dry Vacuum Cleaner For Cleaning Up After DIY Projects - October 2, 2023
- How To Use Your Wet And Dry Vacuum Cleaner For Water Damage Restoration? - October 1, 2023
- CRAFTSMAN CMXEVBE17155 Vacuum Review - September 30, 2023